This can be one of the most frustrating and time-wasting items on an old Jap bike and it's usually times 10 if you're
removing engine side and clutch covers, oil filter spinner covers, dynamo covers, etc. The following suggestions are intended
to make it easy for you to reuse an original set of screws, and remove ones that were "worked" a little too aggressively
by a previous owner.
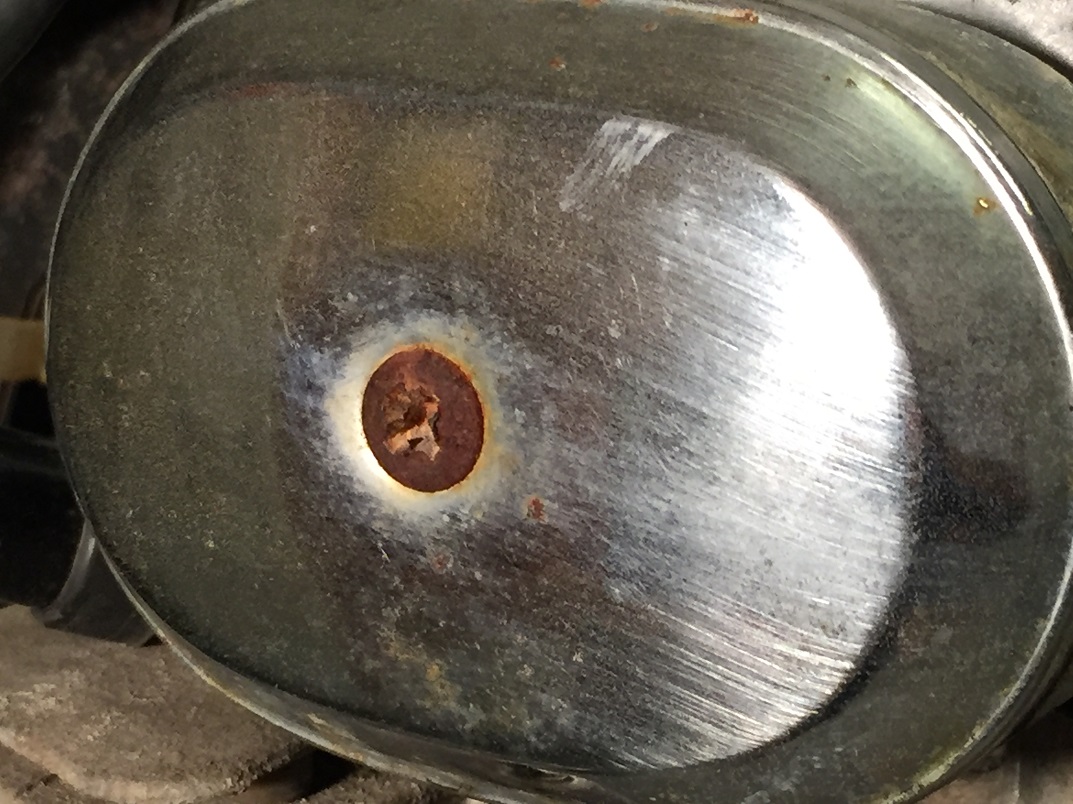
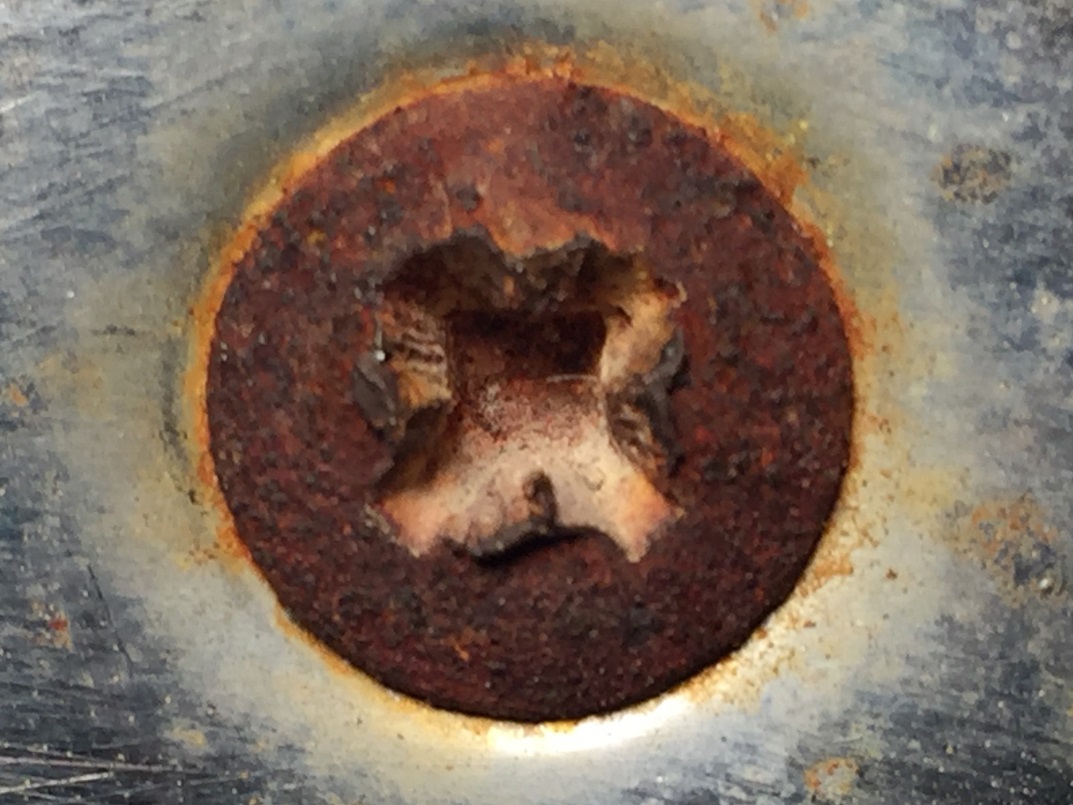
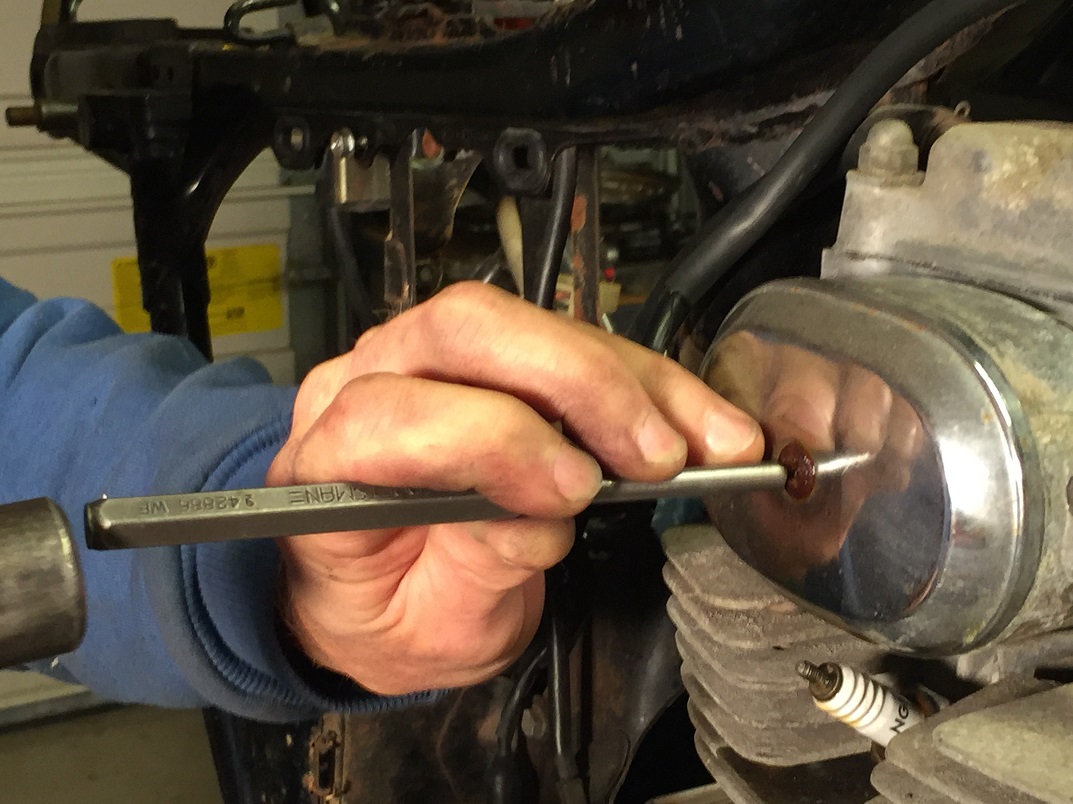
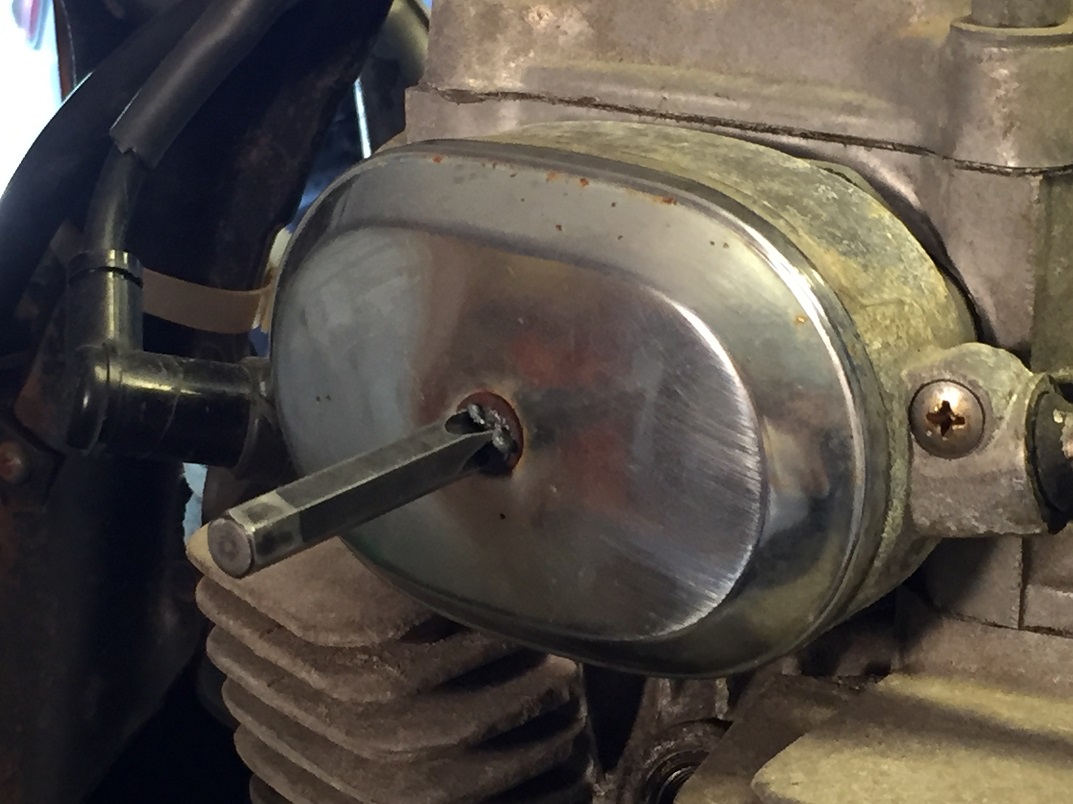
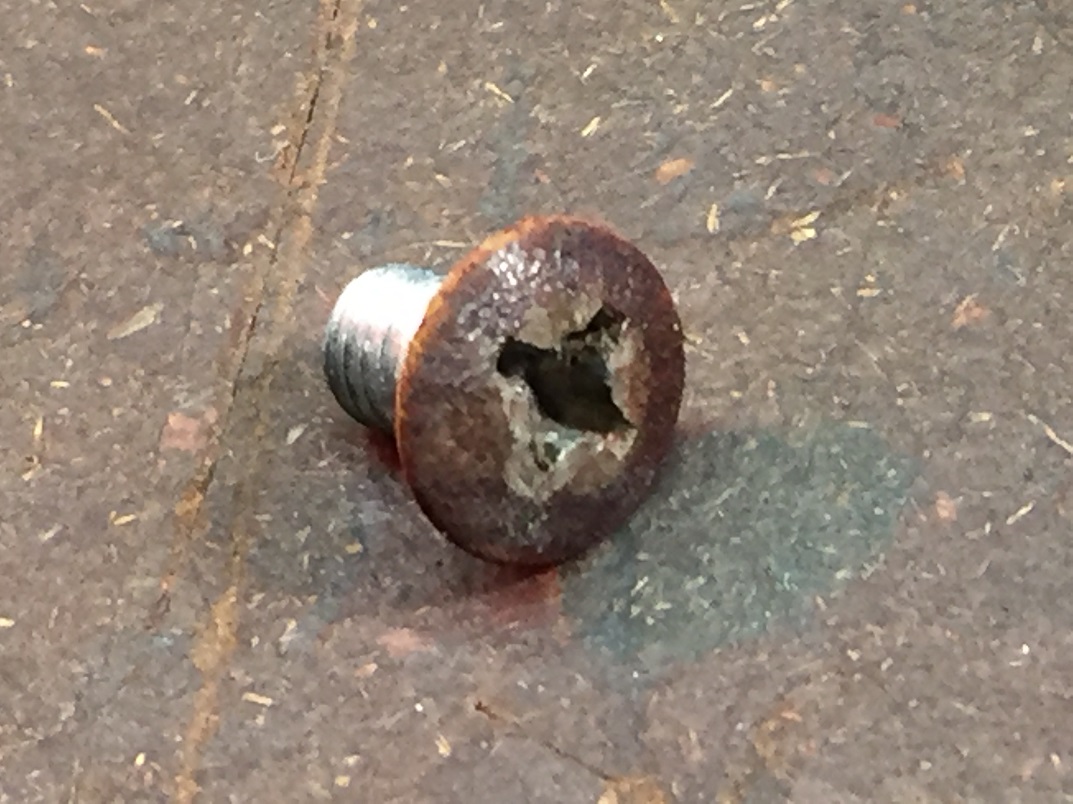
This example is on the valve adjuster cover of our '72 Honda CB350. I don't think it had ever been off, although an attempt
had apparently been made resulting in the head being moderately "mullered." I learned that word from a british poster on the
Honda305.com/forum. This one falls into the category of just get it out without power tools.
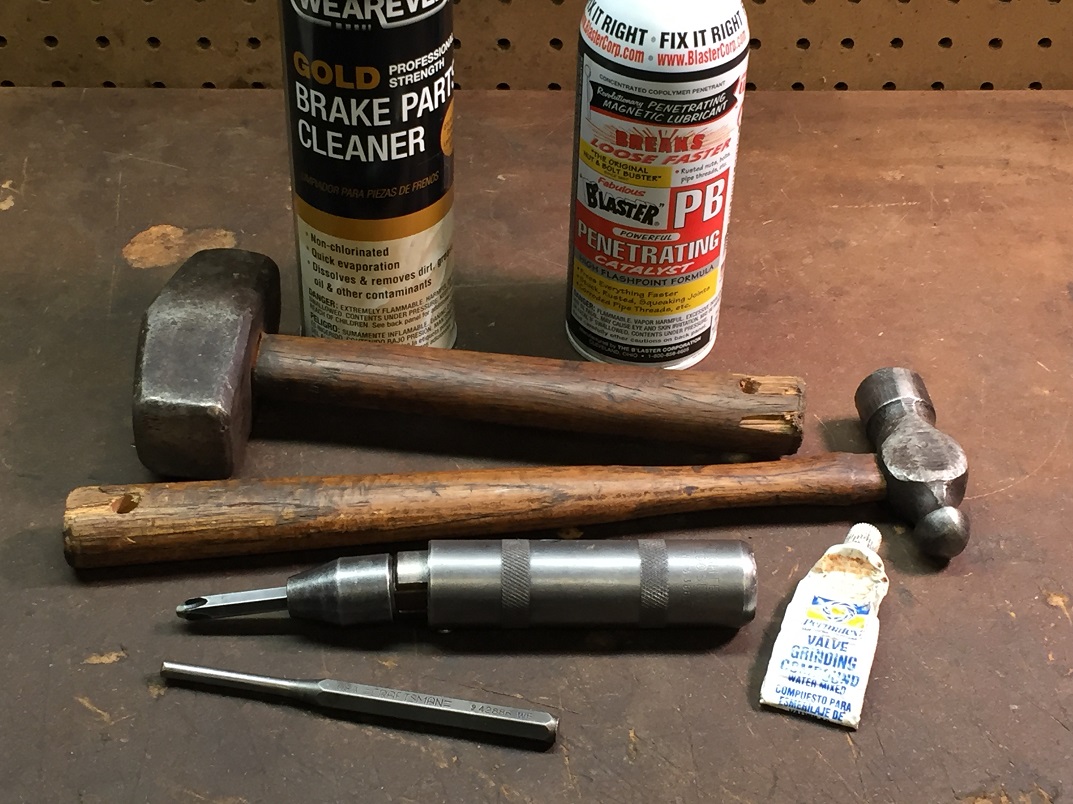
Stuff needed is pictured here. The only surprise might be the valve grinding compound and that's the special sauce.
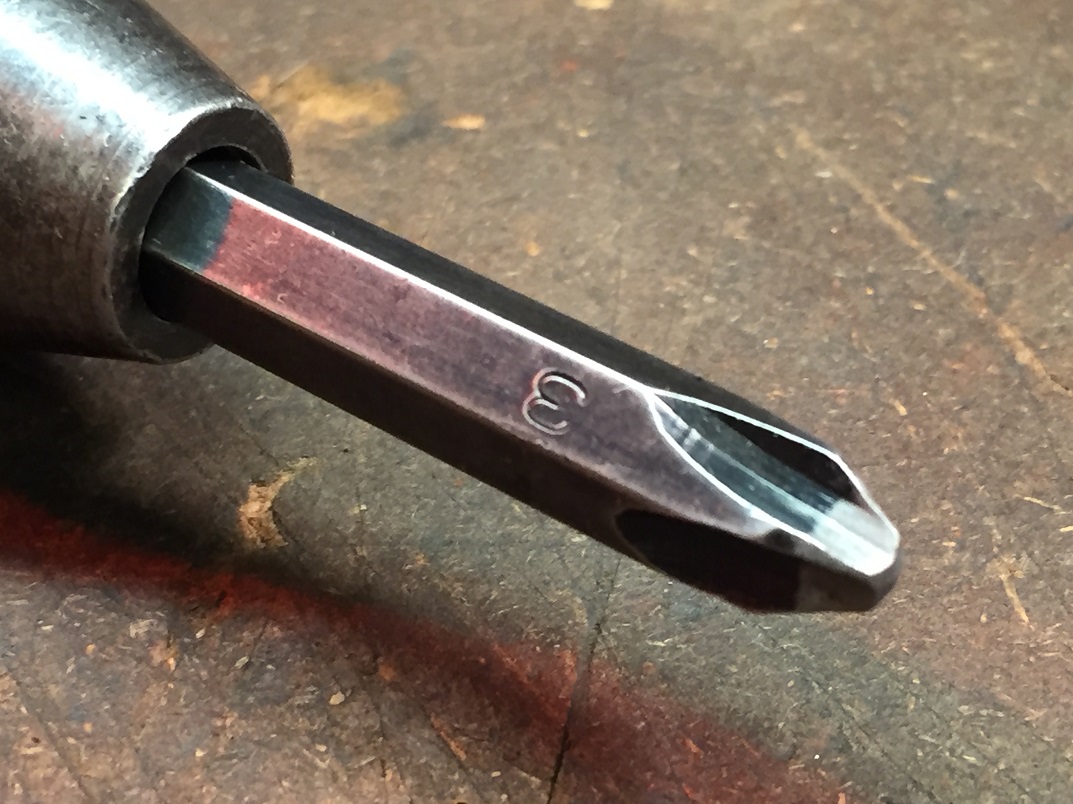
A word about the impact driver and the bit. YOU CAN'T DO THIS WITHOUT AN IMPACT DRIVER. There's lots of technical talk on the
internet about Japanese Industrial Standard (JIS) Cross Screw Specifications and special drivers from Japan, and on and on
and you can Google that if you're interested, but there's really only two points of importance. First, yes they are different
than Phillips screws with the most important difference being that the cross recess is shallower. A standard Phillips bit comes
to more or less a point and will bottom out in a JIS screw before the flutes can make full contact. There's also subtle differences
in the profile that make the Phillips bit tend to "cam out" of the screw to prevent over-tightening. I read that on the internet and
I'm not sure if it's true. Nevertheless, the second point is that every Phillips impact driver bit that I've ever encountered has a
blunt tip and has fit JIS screws like a new pair of shoes and there's no need to mail-order special JIS drivers from overseas,
just go to Sears. If you think about it, why would an impact driver bit be designed to cam out??? Please use a #3 bit for 6mm screws
and a #2 for M5's. If for some reason yours have pointy ends, grind them off.
Step one is to spray it with PB Blaster. It probably won't do anything, but there's a chance and we really like
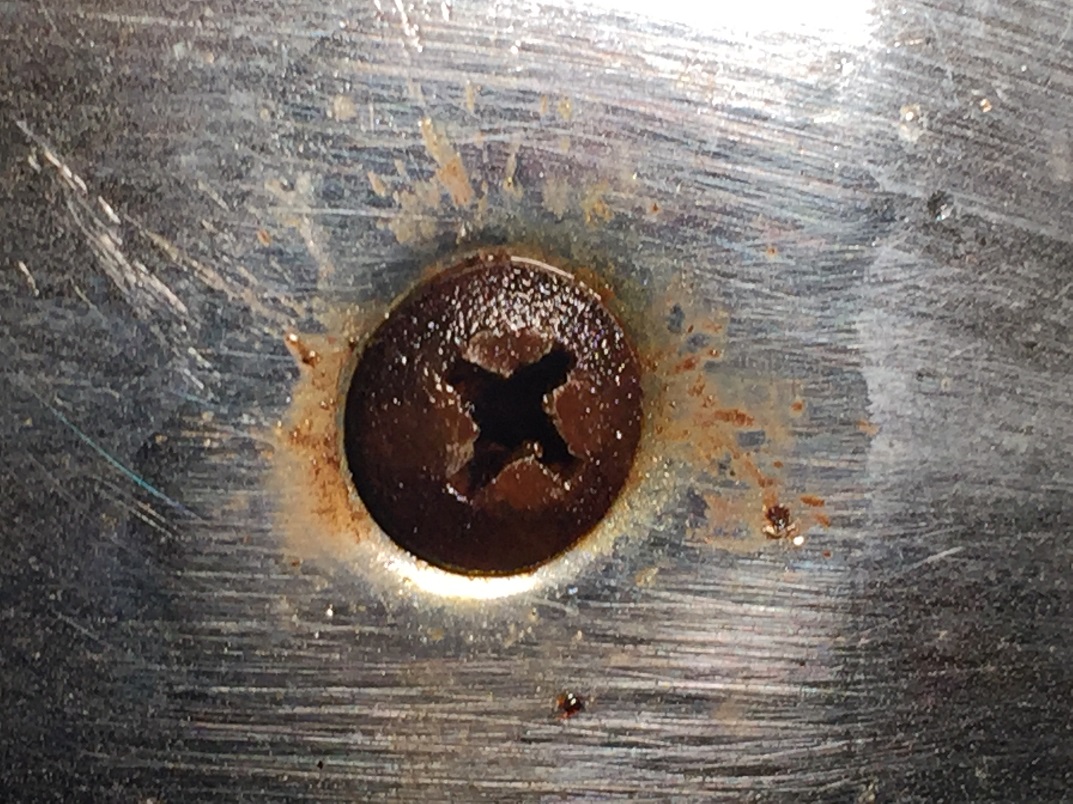
the way it smells. Next, take a 1/4" flat punch and re-form the head as best you can. Smush that Japanese steel back to where it was
in 1972. It's still all there, just in the wrong place.
Clean out the recess with the brake parts cleaner or the solvent of your choice but the important thing here is degrease, clean and DRY.
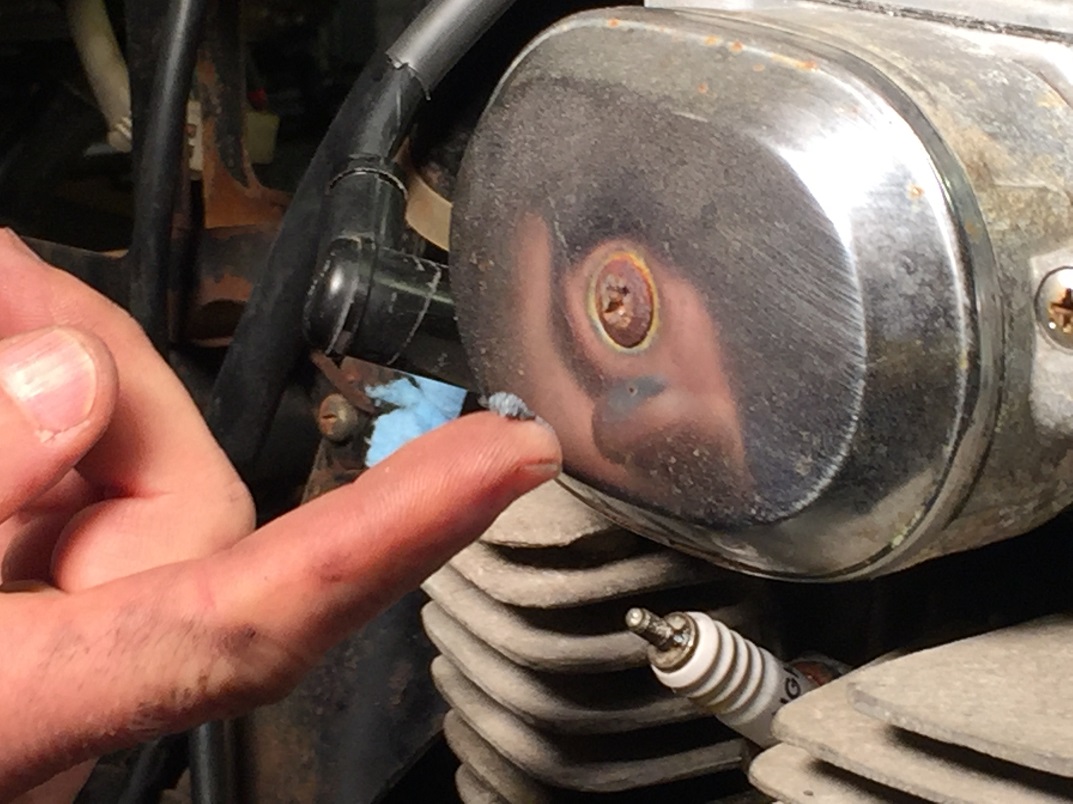
Apply a little dab of valve grinding compound on the recess now. Index finger is my preference, but you could use a Q-Tip. Wipe hands
on pants and go to next step.

Drive the impact bit into the recess. This continues to re-form the cross recess but more importantly serves to shock the threads
a little and let them know that the "Big One" is on the way... All this and subsequent pounding must be done with some discretion.
In this case, there's a solid casting behind that screw. If for instance, the other screw in the picture that fastens the tach cable was the
object of your fancy, then a ball-peen hammer might be a better choice for fear of breaking the casting. And if you did crack that
sucker off, your problems would be over anyway because you'd have to buy a new one that would come without the screw.
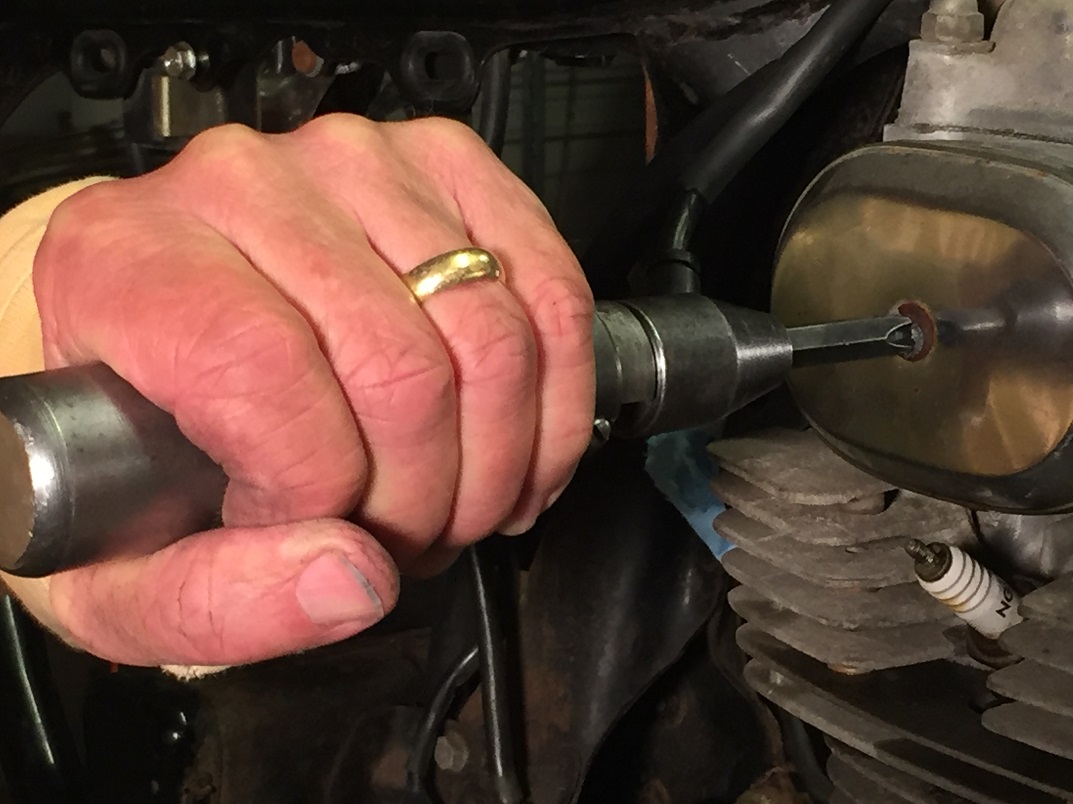
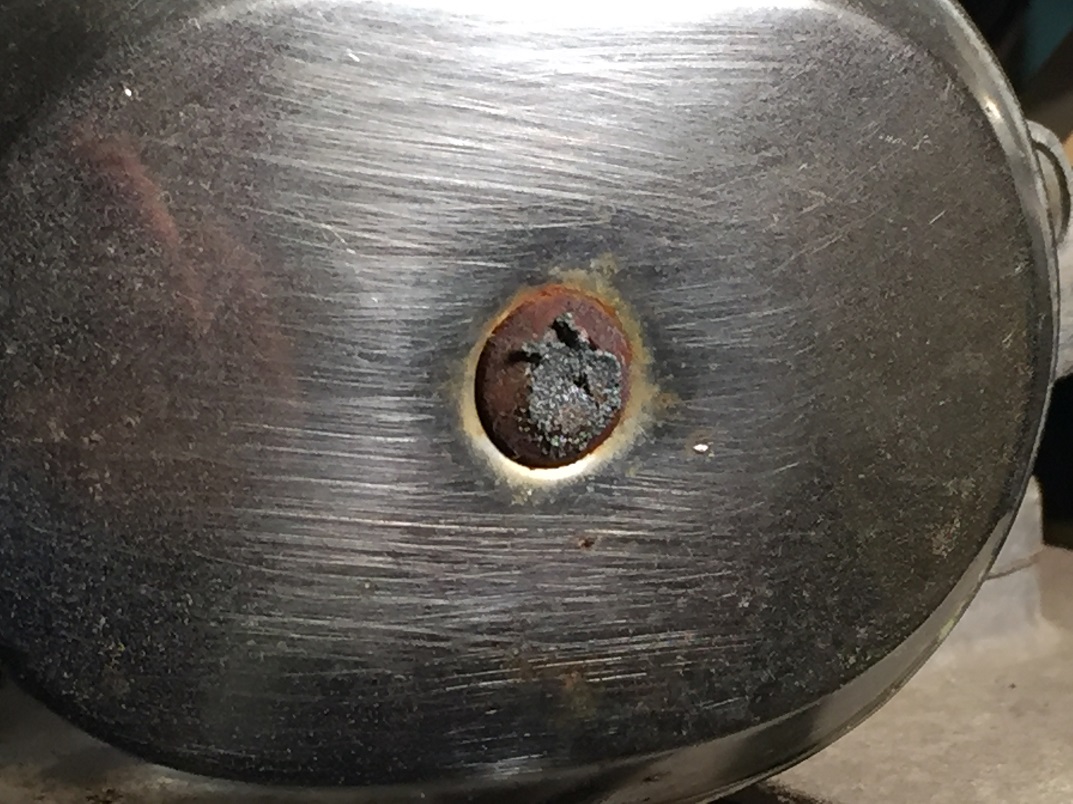
Showtime. Set up the impact driver so it will turn the screw in the right direction. If your right-handed, get in your batter's box
as if that impact driver was a belt-high fastball and put it on the bit that is likely stuck in the screw if you did step 3 right.
grab your 3-pound sledge or "dead blow" hammer or your whatever you use at your house when things get hairy. Take an ahletic stance,
grip that impact driver firmly and hit it like it owed you money. Again, in this case, with the whole head casting behind it,
you can deal a blow that would make Thor proud. Again, that tach screw might require a more deft touch. At this point, 99 times out of 100
you'll yell "How 'ya like me now?!" in celebration. If unsuccessful, you can repeat the process a couple times, but eventually may have to
go to "Plan B" which involves a reversible cordless drill and a left-hand drill bit. You get the idea...
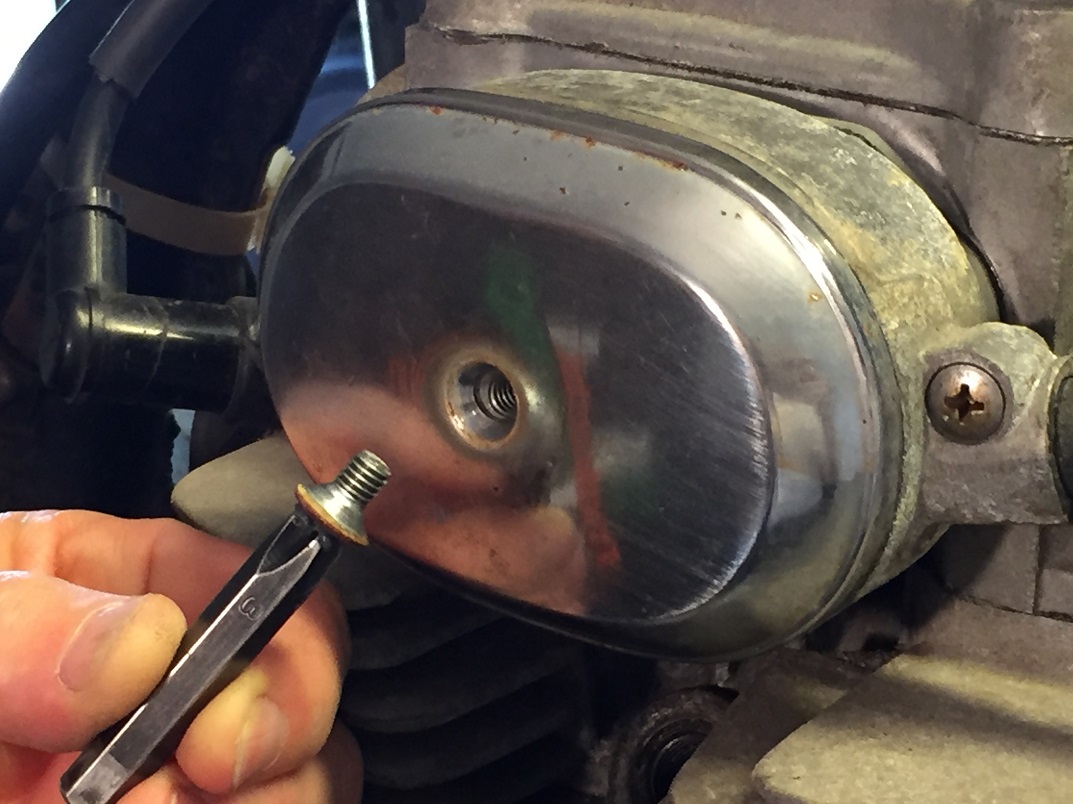
This little fella probably won't be put back in service but could be and we did get that cover off without the use of electricity
which is good for the environment. Hopefully you'll do the same, or preserve a nice set of case screws, or those 1960's M5 JIS screws
with coarser thread that you can't buy anymore like on your '64 Superhawk points, dynamo, and starter covers.
--------------------------------------------------------------------------------------------------------------------------------------------------------
As always, please wear your safety glasses, decent shoes, long pants, or at least some pants and keep a fire extinguisher nearby.
Thanks for visiting!